4 Plank-Based Ab Moves That Are Better Than Crunches
Publish Date: June 29, 2016
Last Update: January 23, 2026
After working on my plank pose for awhile, I’m ready to step it up for summer. What exercises can I try that will really test my core strength? —Jenn L.
No doubt—planks are one of the best exercises you can do to get a strong, sculpted core. Renowned fitness expert Natalie Jill credits them with defining her enviable six-pack. We love planks because you can do them pretty much anywhere without any extra equipment. Here’s how to nail the perfect plank, every time.
The basic move: Plank
It seems so simple, but 30 seconds in, you’re shaking and sweating. And although it’s one of the most clear-cut moves out there, a plank is easier said than done—improper form can mess up your back, neck, and shoulders if you’re not careful. Not to mention it won’t effectively tone up your core! Follow these three steps and you’ll be good to go.
1. Place hands under your shoulders and feet together
Place your hands directly below your shoulders, softening your elbows so you don’t lock into the joint. Roll your shoulders back, and press your palms firmly into the ground while engaging your lat muscles (the ones that run underneath your shoulder blades all the way down your back). Your feet should be touching—try squeezing your heels together to engage your inner thighs.
2. Lengthen your lower back and engage your core
Once you’ve got a strong base, pull your belly button in. Careful—we tend to sink into our lower backs and arch the lumbar spine when we get tired in a plank. It helps to squeeze your glutes, and think of maintaining a long, flat lower back.
3. Lift up and hold strong
Breathe through it and stay as still as you can, while tightening your core and keeping your hips in line with your shoulders. Hold this for at least 30 seconds—once you’ve got that done, move on to holding for longer and longer intervals.
Now that you’ve mastered the basics, time to step it up by taking your plank from static to dynamic. Active movements will challenge your balance and core strength, and they’ll keep things interesting! Try these plank variations to see more ab definition asap.
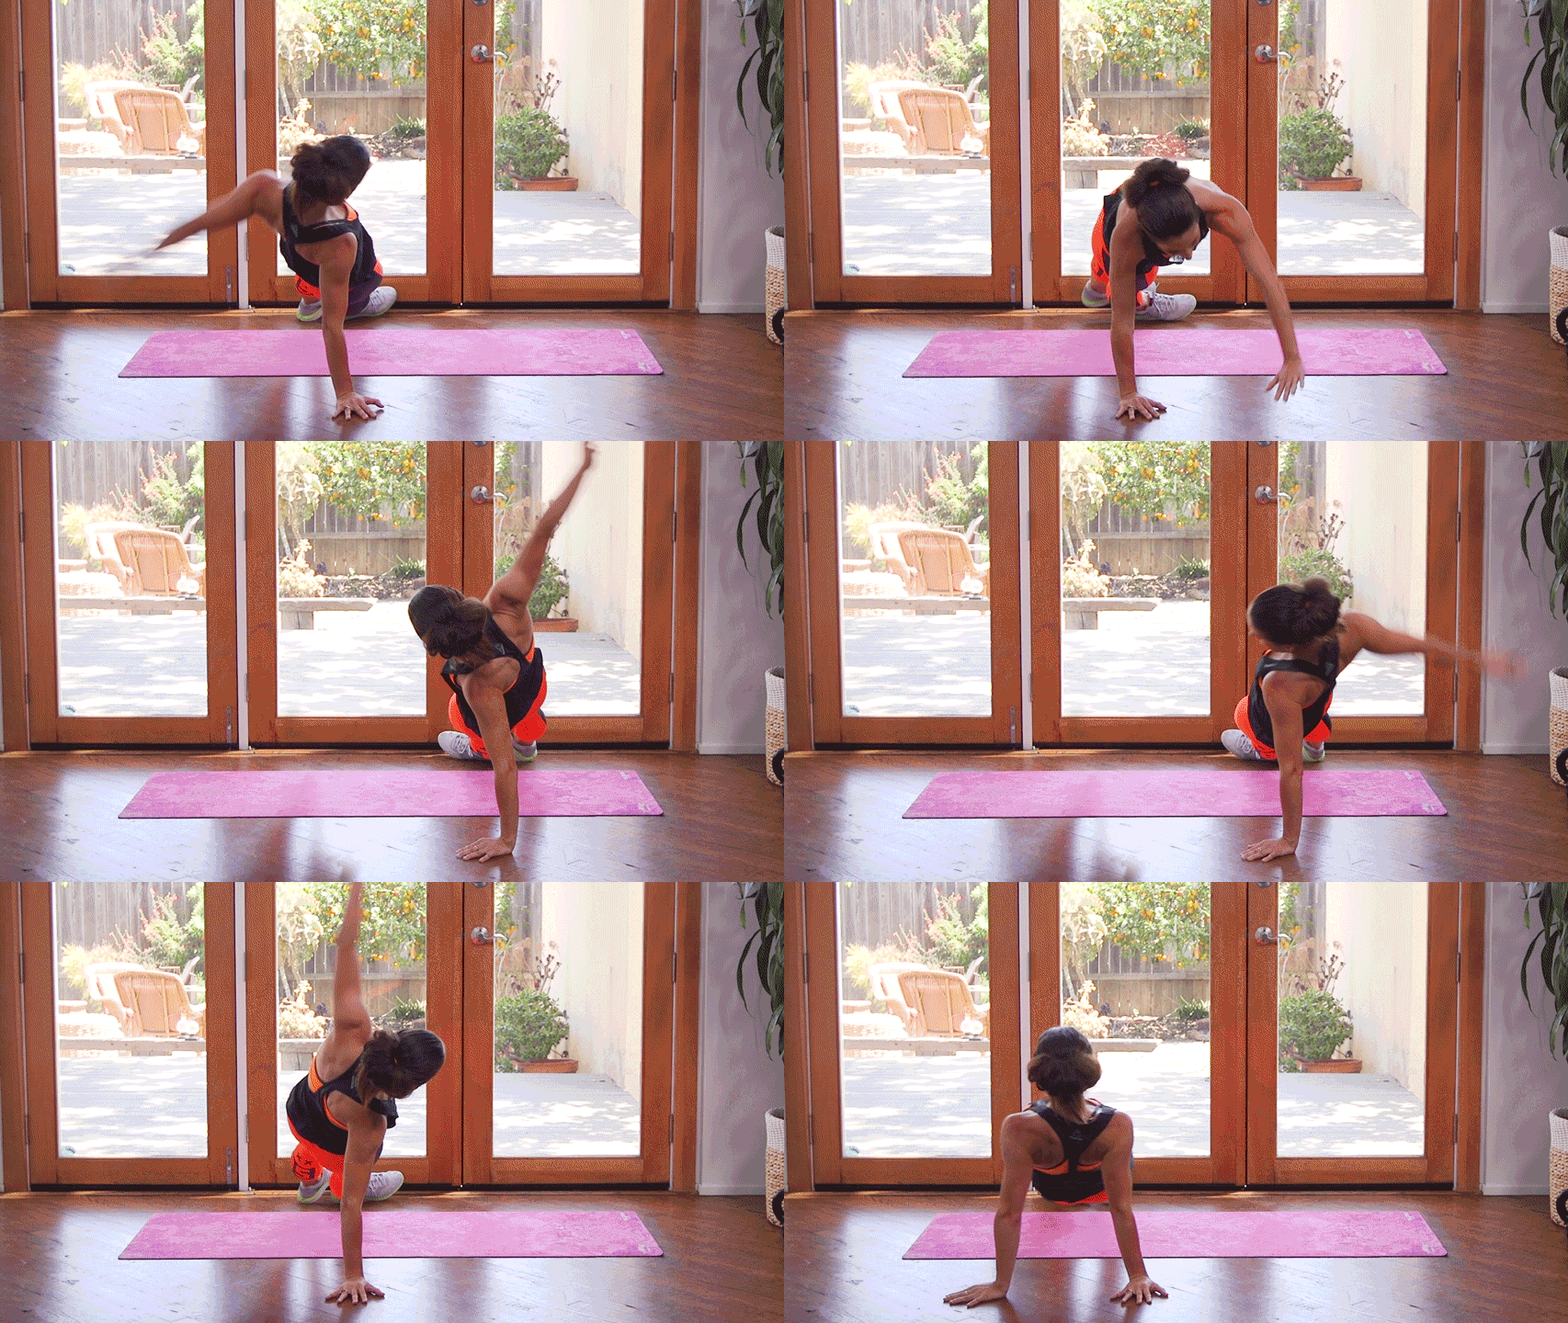
4 ab-shredding plank variations
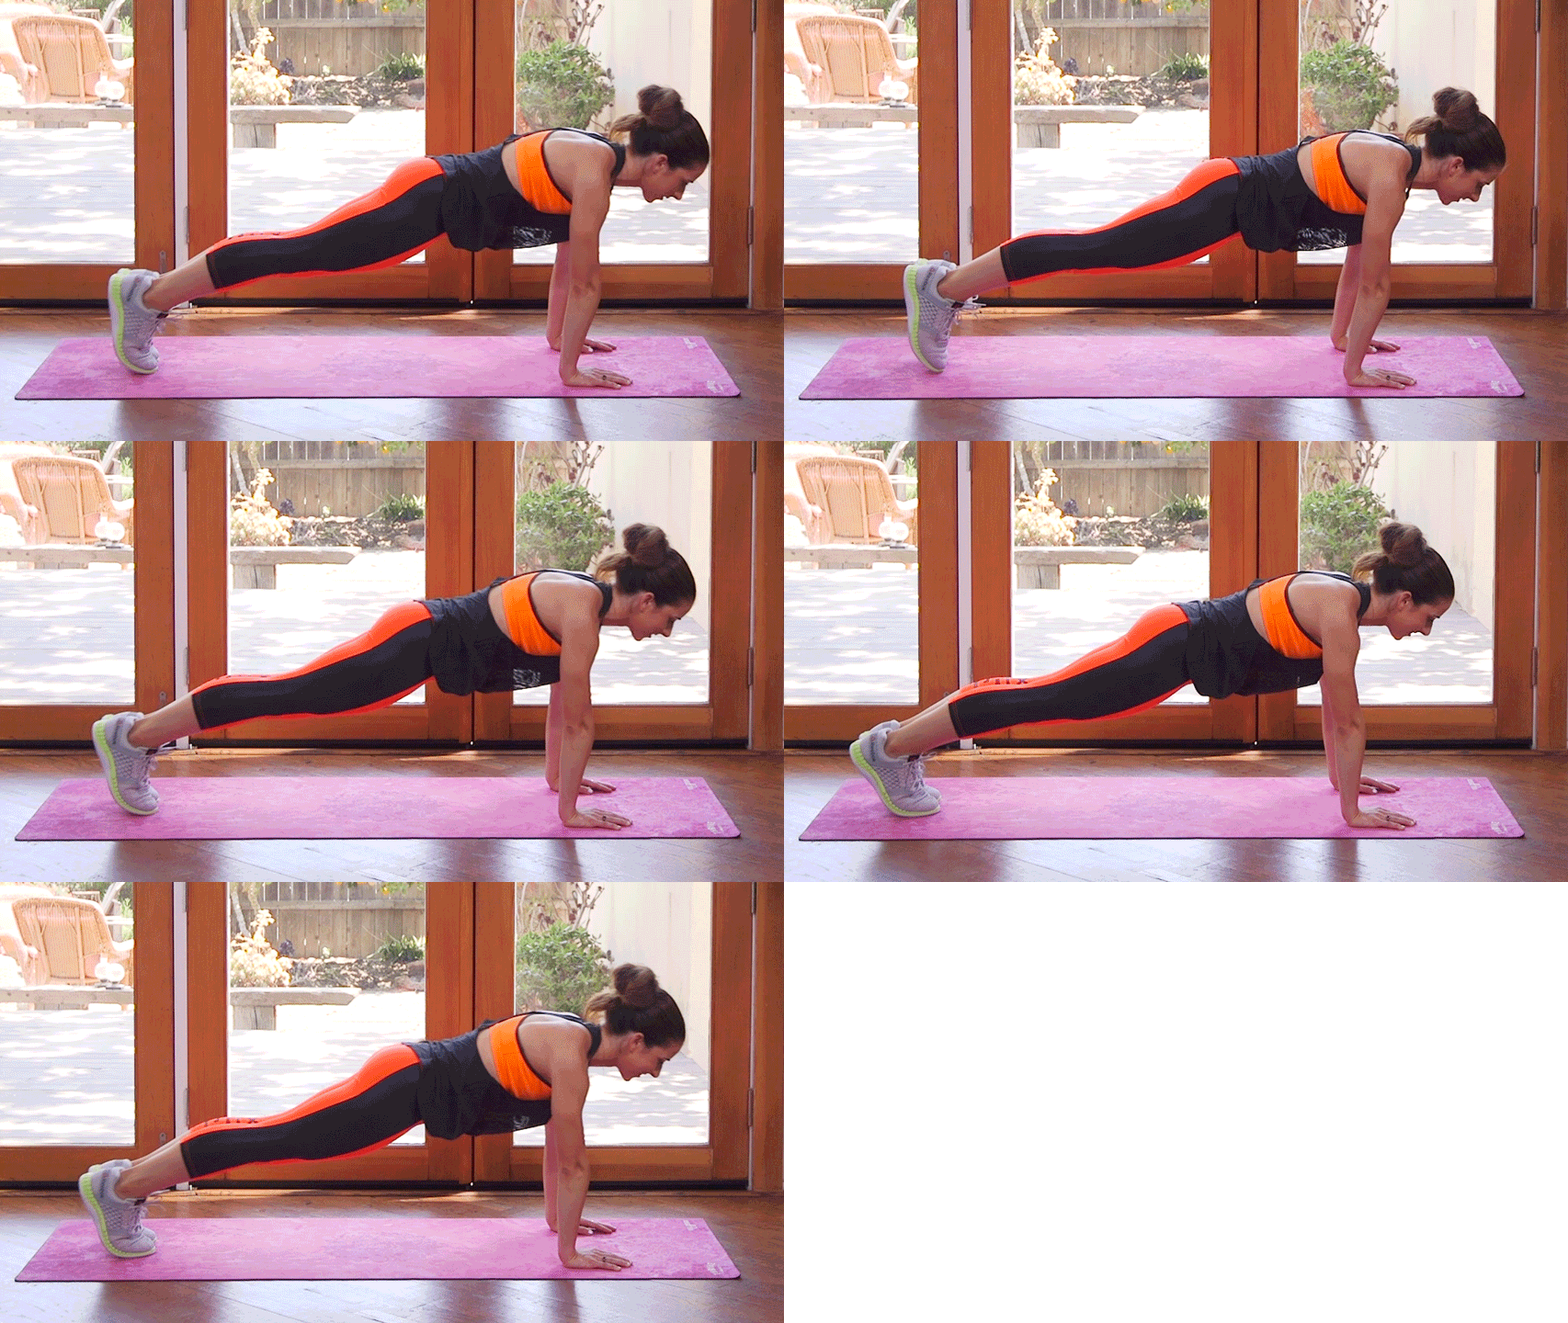
Rocking Saw
Do: 30 reps
Tip: Keep your body completely straight, and rock forward onto your toes, then back onto the balls of your feet
Commandos
Do: 10 reps starting with the right arm + 10 reps starting with the left arm
Tip: Try to stay steady and keep your hips from rocking too much from side to side.
Plank Barrel Roll
Do: 10 reps
Tip: Glue your feet together as you do this and don’t twist your spine at all—go slowly, it’s a tough one!
Superman Plank
Do: 20 reps
Tip: Keep your balance by reaching your fingers and toes away from each other.


